8.31.2012

Inglot Haul! Swatches & Review

Now, in the realm of beauty blogging, I definately feel like a newbie, since I've only really been crazy about beauty products for a couple of years. But luckily, I'm getting smarter about my purchases and really researching brands and swatches. Over and over, I would come across this 'Awesome' makeup brand Inglot, and eventually, I decided to jump in with both feet and order some shadows.

These weren't all bought at one time, but I like that they offer their products in pan form, which is awesome if you have open palettes and want to save some money. I knew that eventually I'd save up and get a few, or a hundred!, of their empty palettes, so I opted to start with Inglot pan shadows. Starting at $6 a shadow, or even cheaper with their 20% off sale recently, I thought I'd be a fool not to cave.

Now, I am a converted shadow buyer! I have never really liked matte shadows, but after trying Inglot, I can't imagine my life without them! And their other finishes? Forget about everything else! These have such dimension, and are definately user friendly! They blend like a dream and are the most smooth and buttery shadows I've tried. I think now, with my recent purchases, I definately have every color that I could ever want or need!

The only issue I had with Inglot, is one heard about around the world. Their shades are not named, but numbered and by finish, so unless you plan on buying blindly each time, set aside time to google plenty of swatches and take notes. I decided to label my palettes as I put them together to ensure that on my next order, I don't end up with duplicates of the same shade.

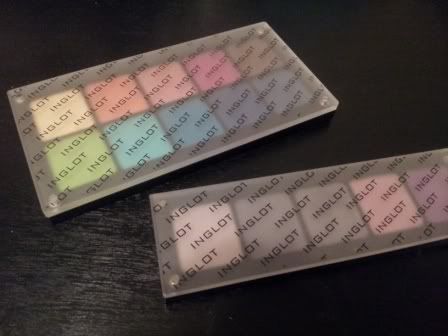
Other than that, I was blown away by their palettes and how sturdy they are. They're made from a black plastic, but are magnetic so that the pans just snap right into place. This is awesome for traveling and even the clumsiest of people; these shadows don't just fall out, and the translucent lid also snaps shut, so your products will always be secure.

Ok, now for the long awaited swatches!

I purchased two palettes, a 5 pan palette and a 10 pan palette. I figured having the 5 pan would make it easy to switch out shadows to take while traveling!

Note: I've linked all the pictures, so that you can click for a larger view!


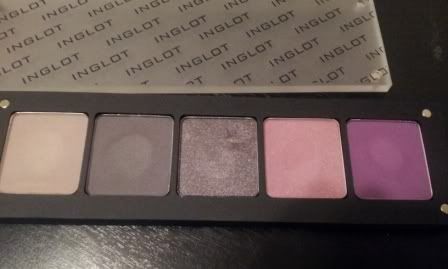
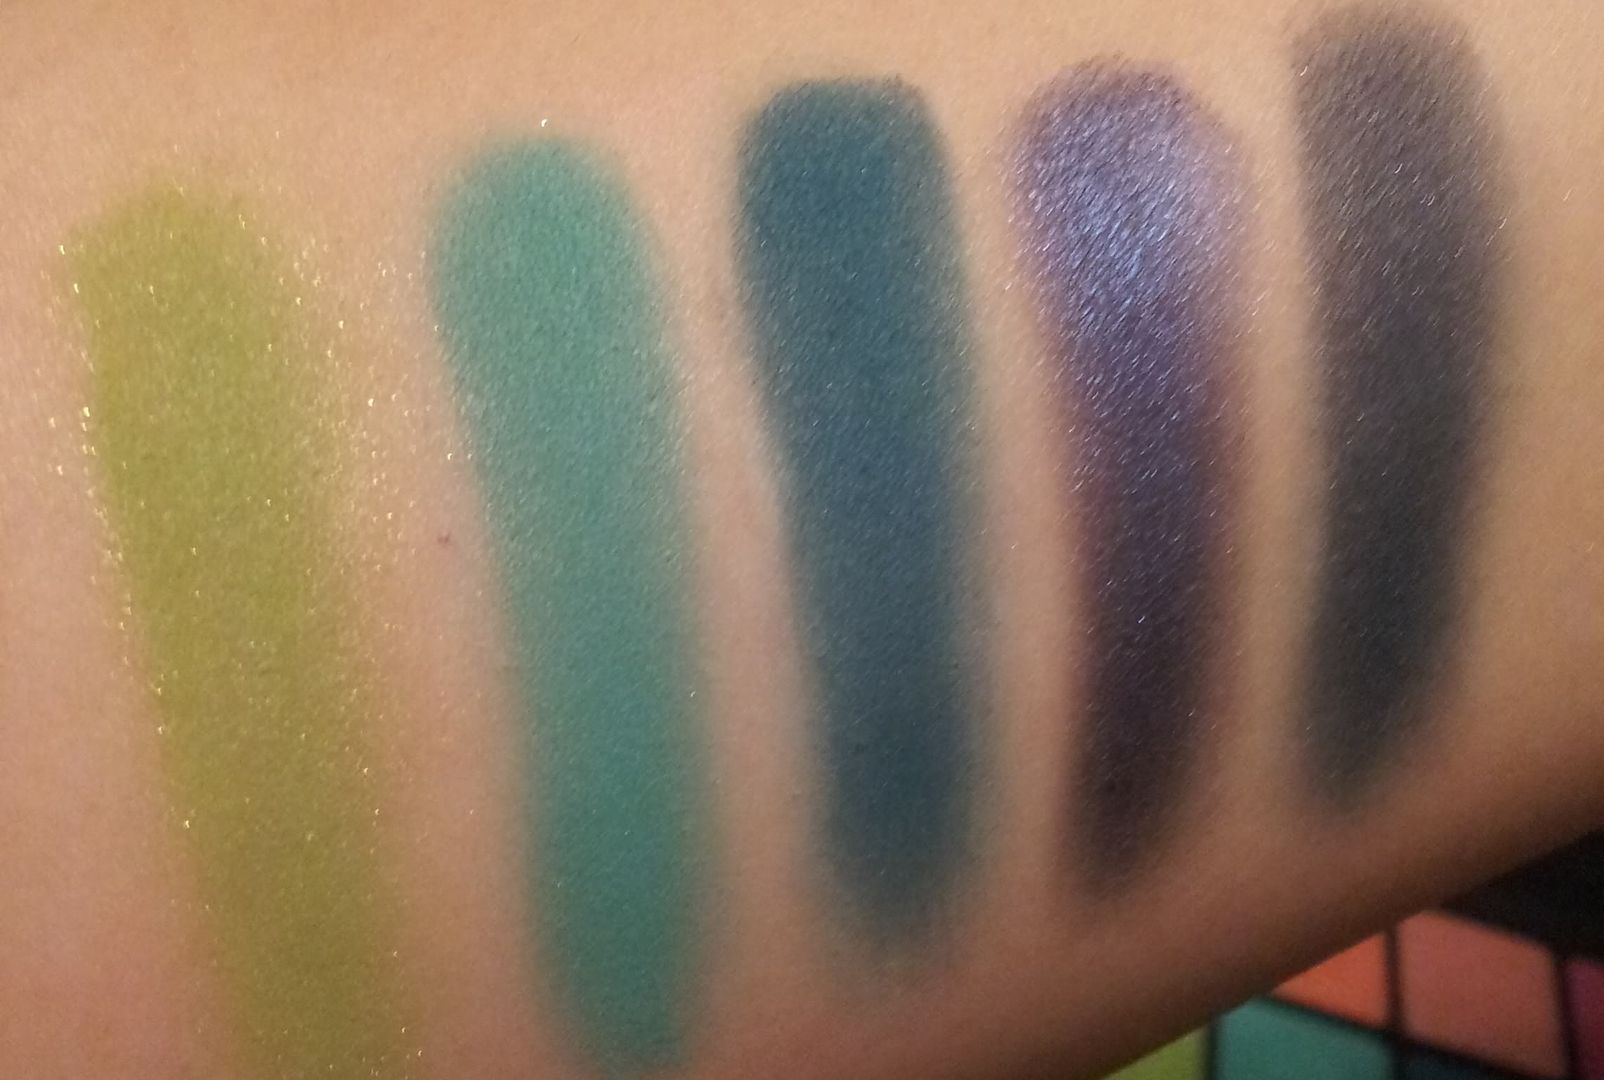
Inglot 5 pan freedom palette


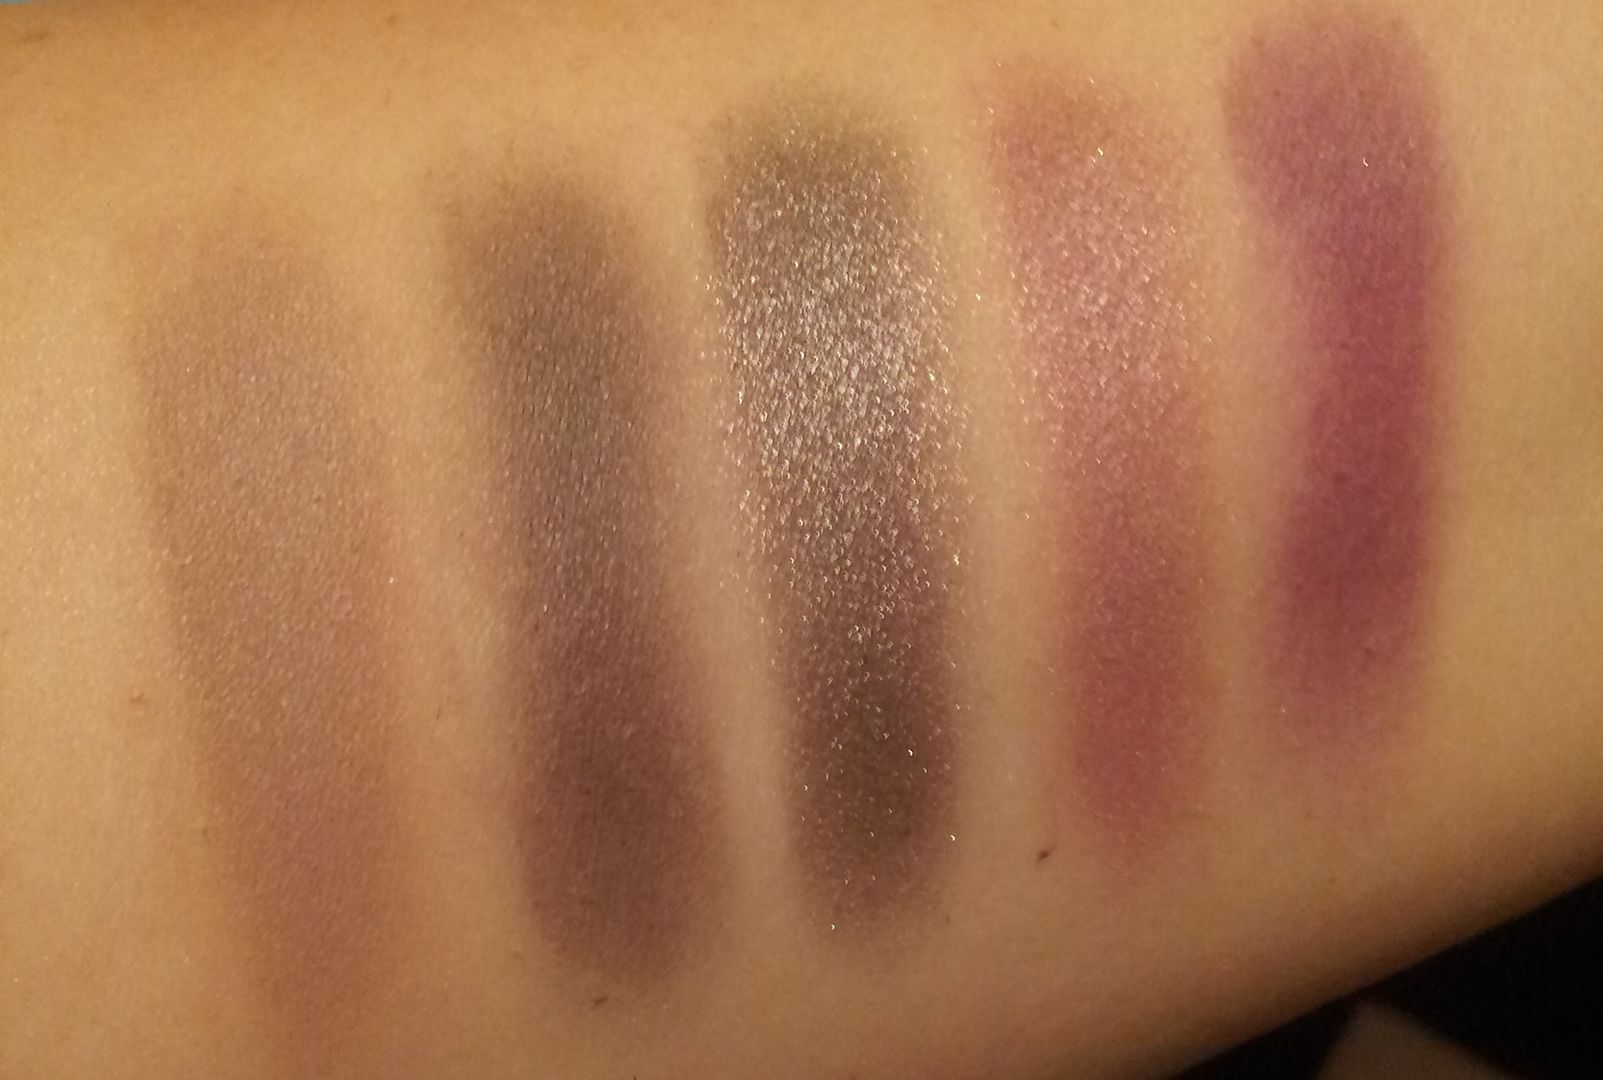
Without flash (L to R): 358 Matte, 376 Matte, 434 Pearl, 487 DS, 375 Matte


With flash (L to R): 358 Matte, 376 Matte, 434 Pearl, 487 DS, 375 Matte


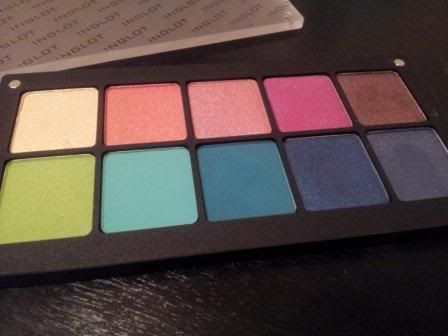
Inglot 10 pan freedom palette


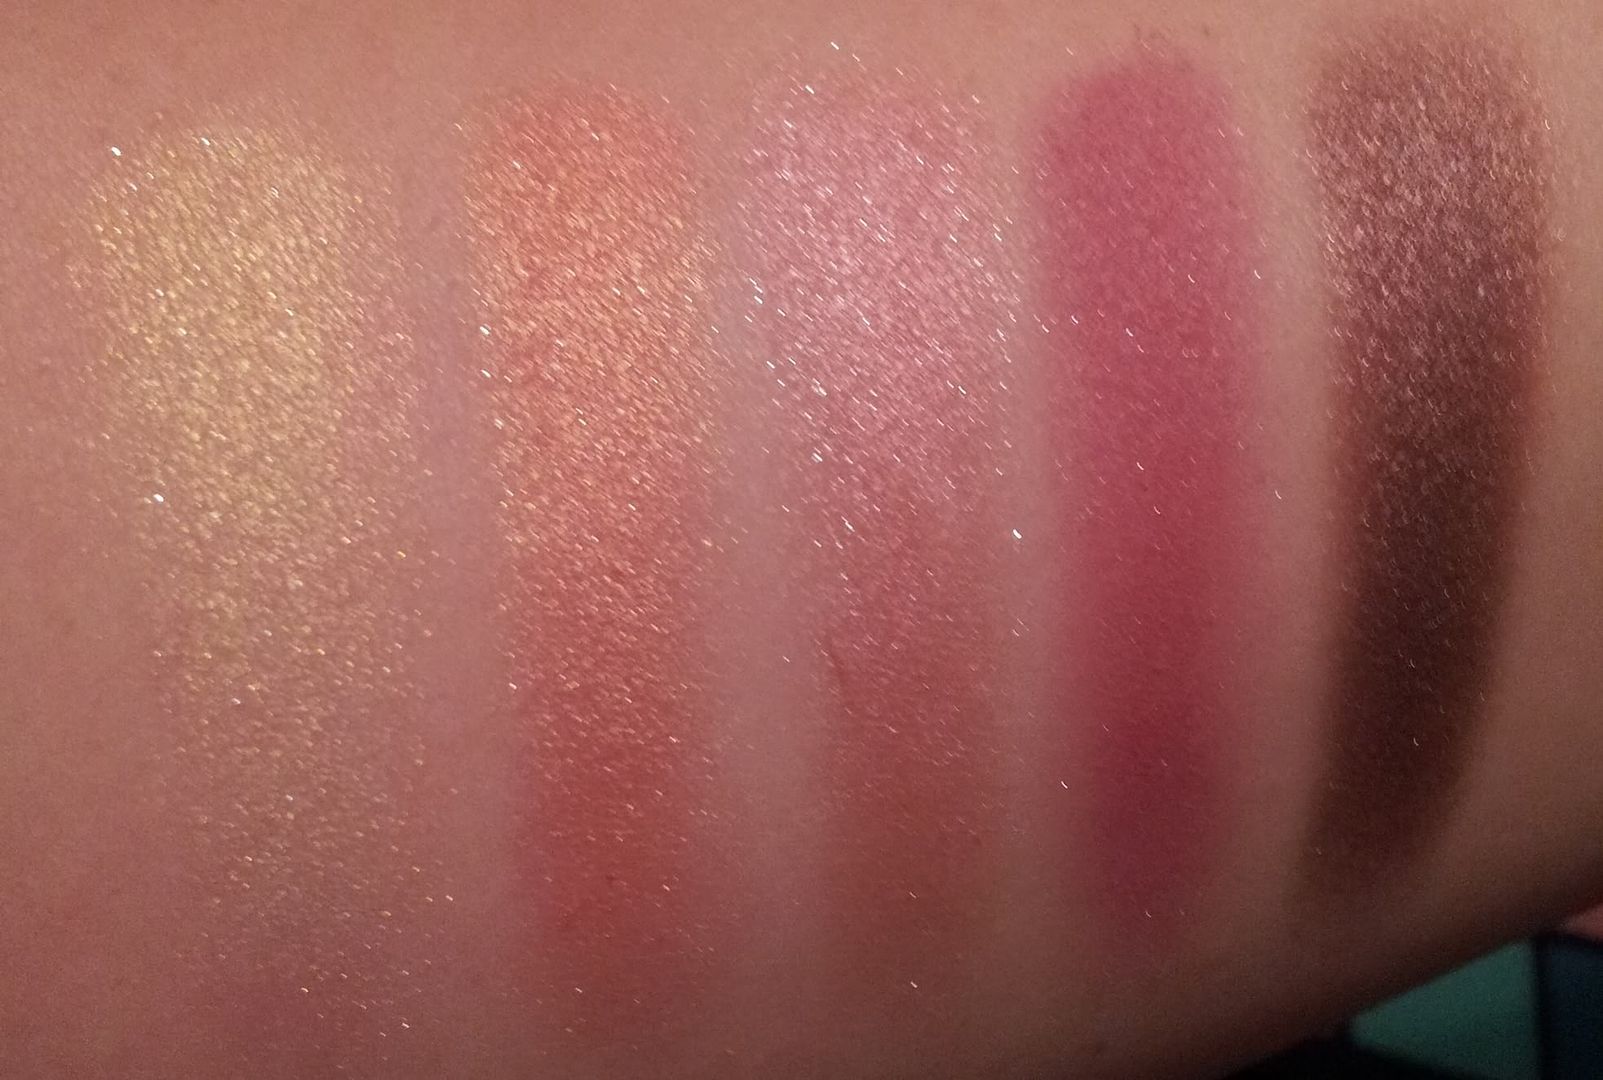
Top Row, without flash (L to R)
26 Shine, 15 Shine, 48 Shine, 74 AMC, 423 Pearl


Top Row, with flash (L to R)
26 Shine, 15 Shine, 48 Shine, 74 AMC, 423 Pearl


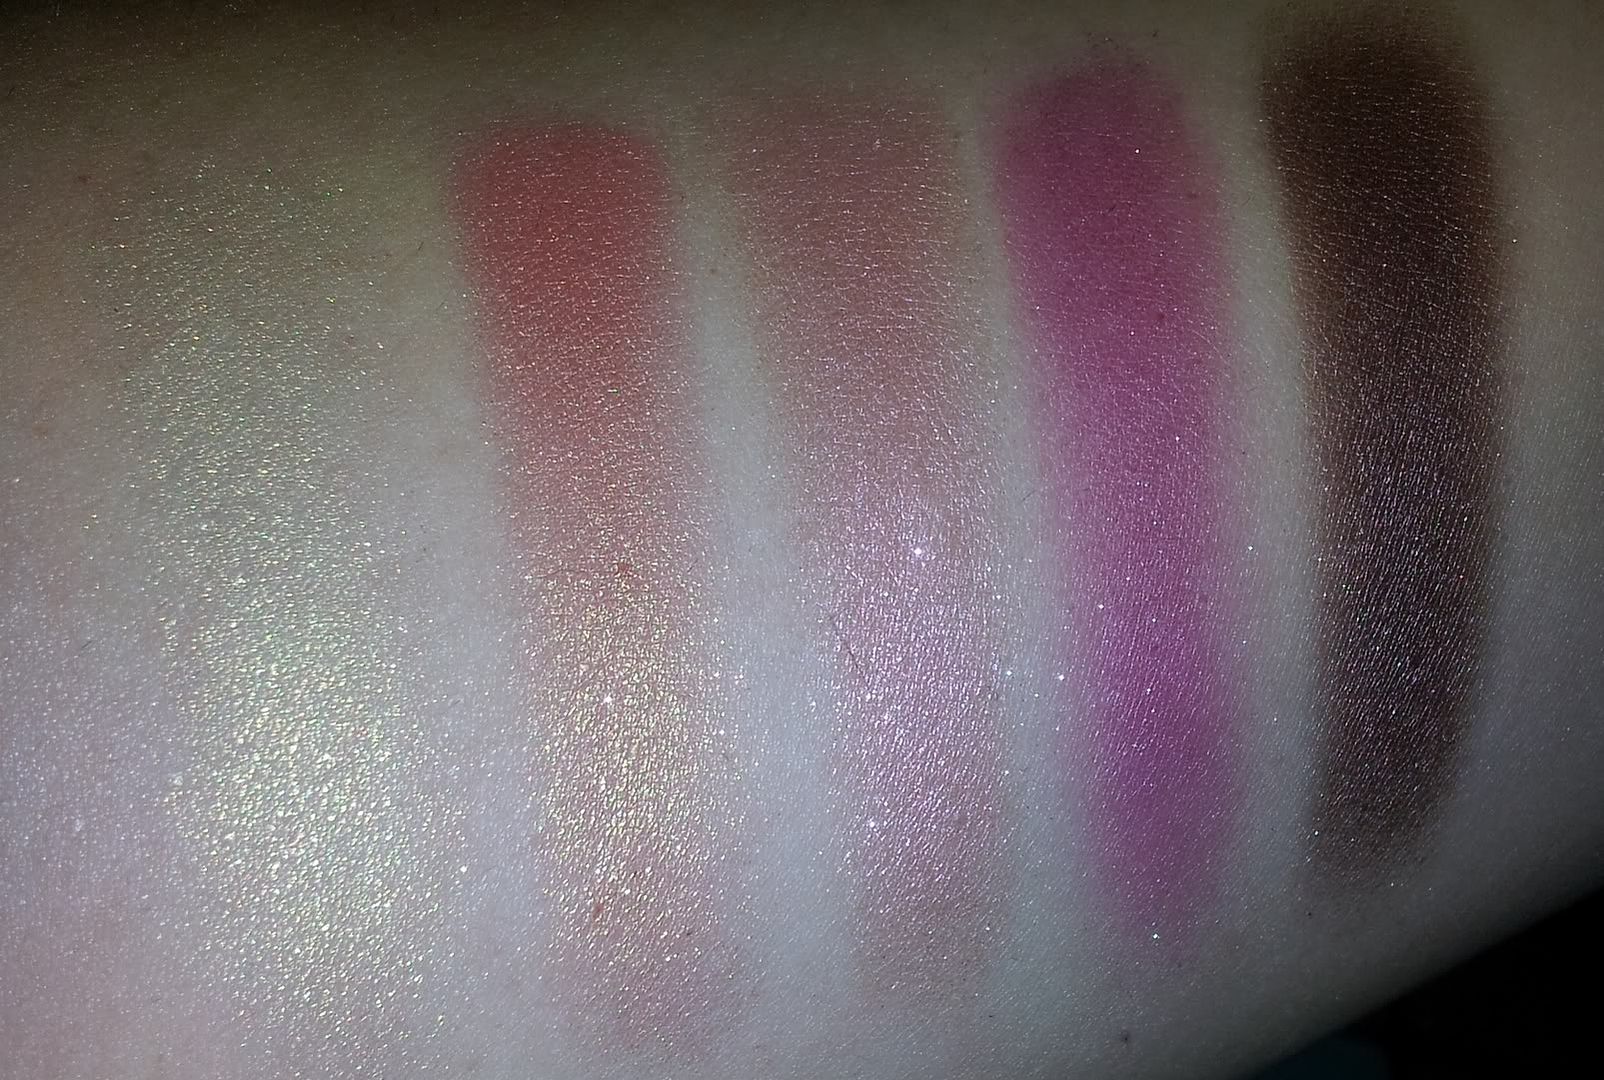
Bottom Row, without flash (L to R)
477 DS, 372 Matte, 338 Matte, 428 Pearl, 483 DS


Bottom Row, with flash (L to R)
477 DS, 372 Matte, 338 Matte, 428 Pearl, 483 DS

Do you own any Inglot? Don't you want some now?! :)

8.28.2012

Depotting Benefit Boxed Powders!

As a beauty junkie, I must admit, cute packaging does matter. It draws your eye to a product, and can make even the most cluttered bag more organized. But, every beauty junkie also knows, it means more space in your stash is taken up and there's far less space to grow! ;)

My Benefit powders were definately not lacking in the packaging department. I love how each powder had its own personality, if you will, and they all included a small mirror on the flip top lid, and a small brush, but all that packaging really takes up some space!

I had recently gotten a new Zpalette, and went on a space-saving spree! I wanted to depot anything that I could, and couldn't find a way to depot these! After my first successful Benefit depot, I thought it'd be nice to share with the class!

What you'll need: Scissors, A nice, firm grip, and of course, Patience!

First, you'll want to cut the mirrored side off. You can use scissors if you'd like, or you can just rip it off by it's 'hinge'. The cardboard is pretty easy to tear here, since it's not super thick.

Second, squeeze two corners on the side of the box together. You'll create a small space between the side of the box and the pan. Using your fingers, grip the side of the box and pull until it rips, being careful of course!


Note: On my Bella Bamba blush, the packaging was thicker because of it's slick design, so I ripped one corner apart, and continued to pull until the sides came apart from their base.

Either way, you'll want to repeat this process until you have complete access to the blush/powder pan.

Using your fingers again, begin to push down on the sides of the packaging, exposing the bottom cardboard glued to the pan. Once you have a little space separated, you can begin to pull the entire pan off the bottom, being careful not to squeeze the pan, which could cause the powder to crack.


Repeat the same process with the cardboard that is glued to the bottom of the pan. This may be a little more difficult since the glue is quite strong. Peel off any excess cardboard paper that is still stuck to the bottom of the pan.


If you wish to save the label, you can peel it off the bottom of the packaging, cut it to size, and sticker over the exposed pan. I chose to cut close enough to where I could read the name of the powder and it's ingredients.

Ta da! Now the powder is depotted! Not bad, eh?

Luckily, these powders are quite magnetized, and since the bottom of my Zpalette is a magnet, they snapped right in. If you don't have a magnetic palette, you can attach a magnet with an adhesive back (found at most craft stores, or free with purchase of a Zpalette) to make it stick to another magnetic surface.

Now I've got more space! These powders definately take up a lot less room, and I can see exactly what I have in my palettes!