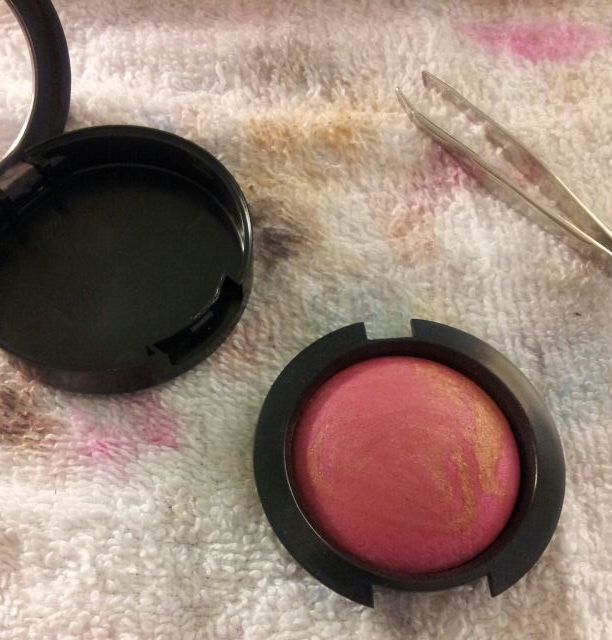
Recently, I finally caved and bought a Dome Z Palette ($25) to house all of my domed powder products that are too tall to fit in regular Z Palettes. At first, I was quite nervous to attempt depotting these products because they are far more fragile and their shape makes them trickier to handle. Once I depotted my first item, it was such a breeze!
By the way, if you've never depotted things before, this is also very similar to the way I depot all my other products, for reference. If you remember just one thing, make sure to take your time and be cautious of the pan and product to make sure they aren't cracking or bending too much in the process.
Things you'll need: A sharp, thin knife or pointy metal tool, burning candle, tweezers/pliers, magnets, paper towels/washcloth
Most tutorials I've seen also include flat irons, but I've never attempted to depot things that way. I'm sure you can research and find other tutorials for that method.

Getting Started: First, you'll need to make sure you have some kind of protection on your work area for cushioning. These products, when depotted, also tend to touch everything, which will definately cause it to get dirty, so this will help prevent that as well. I'm using an old and stained (sorry!) washcloth for mine.
Next, you'll need to separate your packaging, which will allow for better access to the pan and surface we will be burning. On standard MAC packaging, there is a small groove in which you can insert your knife or pointy tool and wiggle loose. Be careful doing this too rapidly because there's a chance you could bend the pan inside, causing the product to crack. Most other packaging will have this same groove, but if not, you could always try to burn the bottom, it just may take more time.
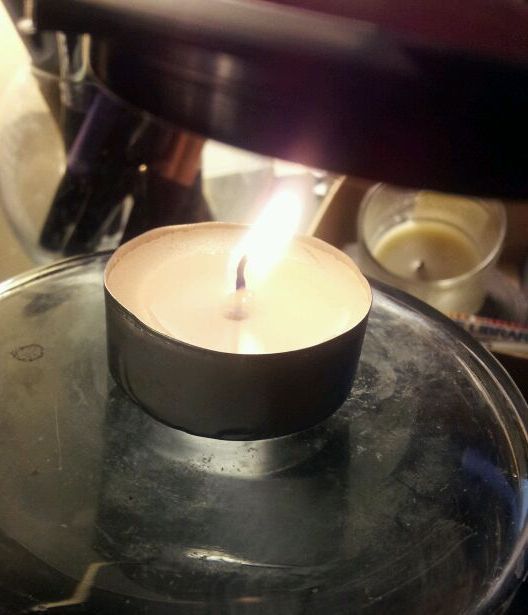
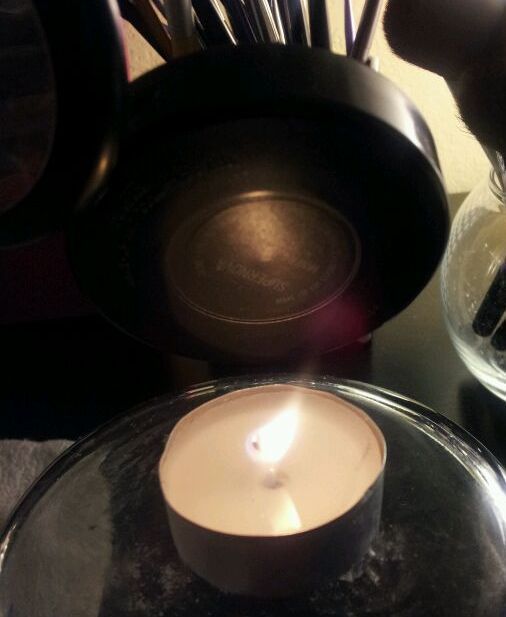
Now that the inner packaging is separated, I tend to use tweezers to hold the outer edge above my burning candle, just so that my hand doesn't get too close to the heat. (You could also use pliers if you want a firmer grip.) Make sure you have control over the product before attempting to burn the underside because it could slip and burn you or fall into the flame. Now, position the plastic into the flame horizontally, generally starting from the center. I hold it there for a few seconds, and move the plastic in circular motions so that the flame will warm any other glue holding the pan down. Burning the plastic will cause a bit of smoke, just be careful not to breathe that in directly or too much.
After the pan has been burned for a minute or so, the underside should look like this:
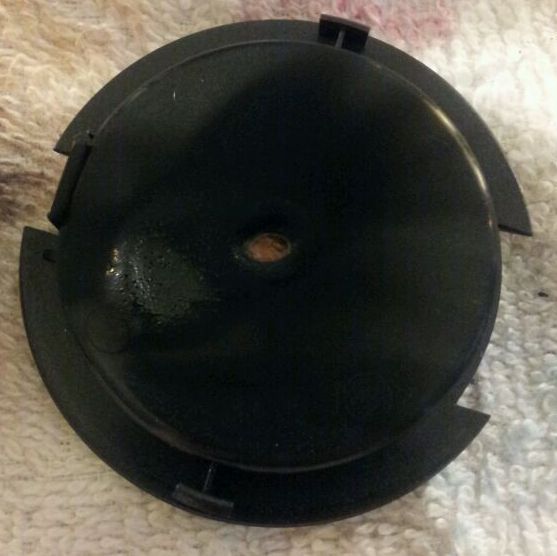
While it is still warm, continue to grip the side of the plastic with your tweezers/pliers, and use your sharp object to push the pan through from the hole that has formed. If the pan is not coming out easily, repeat the burning process for a little bit more time. Remember to not force or push the product out too fast because it could be destroyed in the process.
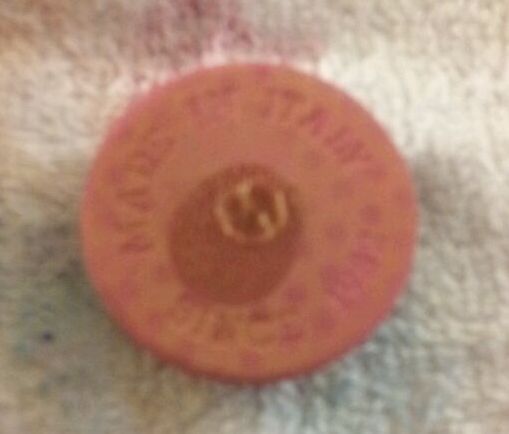
Once the pan has come out, the bottom of the product will look generally like this. These are not standard metal pans, but are clay on which the mineralized products are baked on.
Now, since the glue should still be somewhat warm, I like to apply my magnet to help it stick a little better. Z Palettes come with round sticky magnets, or you could use some purchased from a craft store. After that is applied, if you want to label the product using the original label, you'll have to remove that too.
This time, I usually hold the outer packaging with my hand, since we're not really trying to burn through plastic. (If you want to take extra caution, you could still hold the packaging with tweezers or pliers.) I'll hold the plastic vertically and quickly run the bottom label through the flame a couple of times, making sure not to scorch it. This will soften the adhesive and you'll notice air bubbles beginning to form between the plastic and label. Once that happens, you can grip the label with your tweezers and peel it off. While the glue is still warm, I affix it to the magnet, and voila! the product is now labelled.
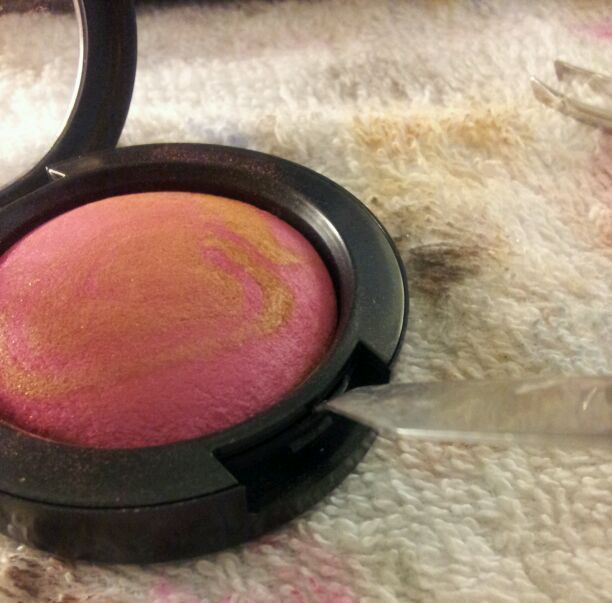
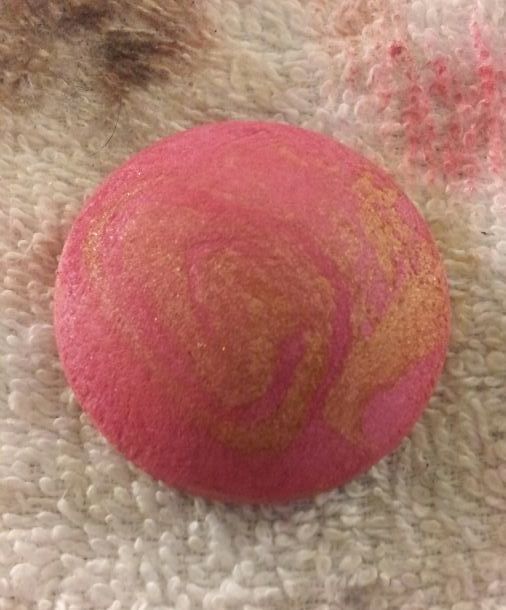
Your finished product will look like this!
Now that you have depotted and magnetized your item, you can put it into a palette, and here it is with all it's other friends!
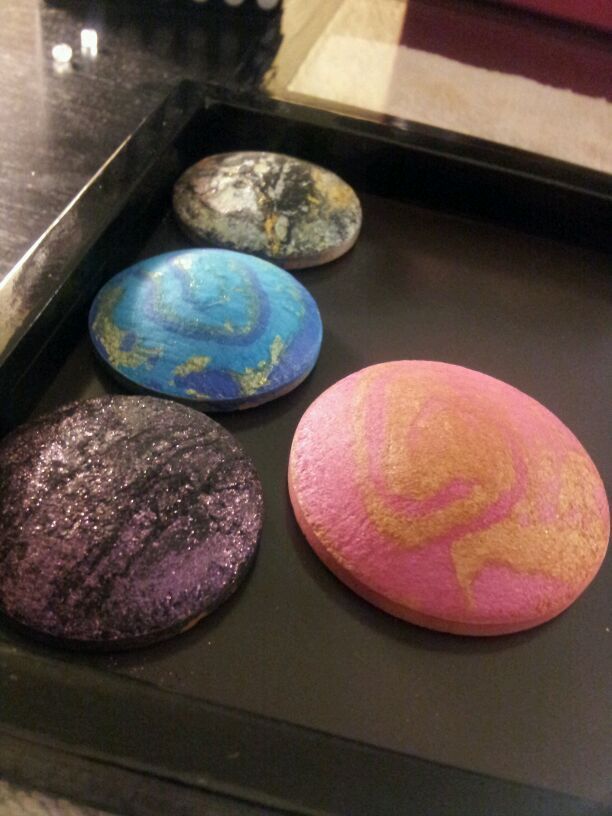
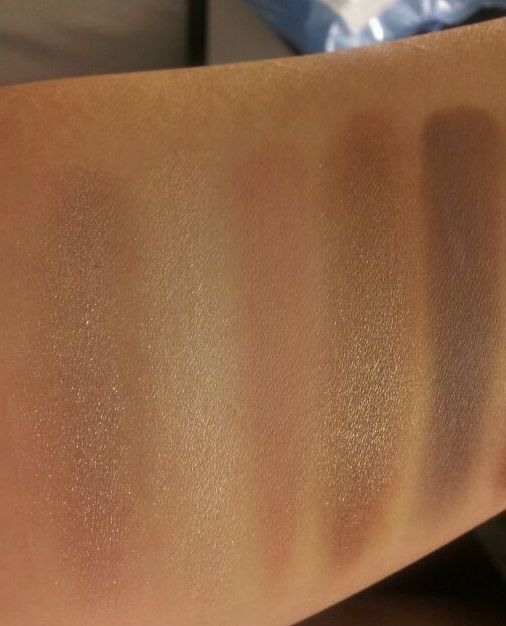
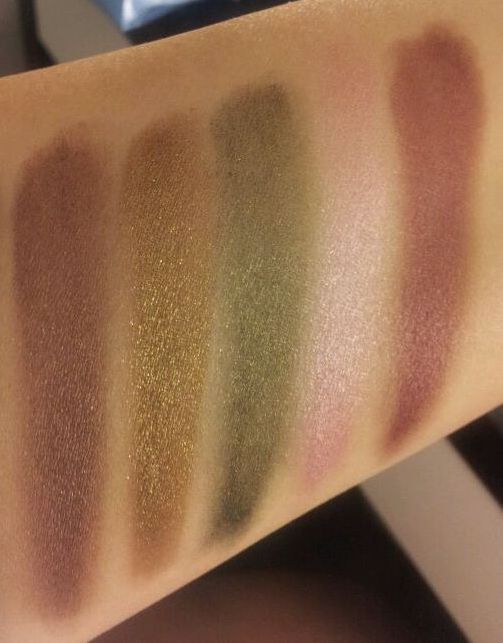
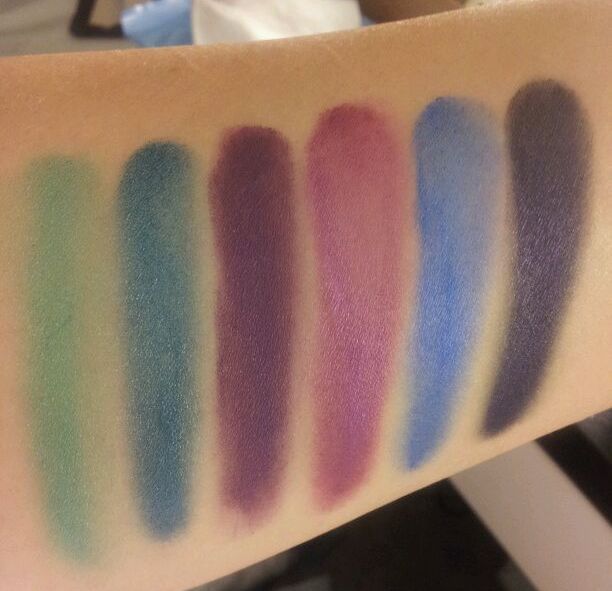
Top to bottom: MAC Clarity, MAC Sky, MAC Young Punk, MAC Supernova
This is so much easier than having bulky packaging, and plus, now you have items to Back 2 MAC!
I definately recommend the Dome Palette for all kinds of thicker depotted products. It's super sturdy and has more space to hold all your items :)